How it was Done
After good feedback from the last post about how it was done, here goes details about how the shots I put up yesterday were captured:
Hopefully this shows that you dont need lots of fancy equipment and a studio to get reasonable images.
Equipment Used: 1 x 10 metre power cable, 1 x multi plug box, 2 x light stands, 2 x 500W Studio lights with 150W modelling lamps, 1x softbox umbrella, 1 x barn doors, 1 x tripod, 1 x Nikon D70s with 18-70mm Lens, 1 x 1GB CF card and 1 x Nikon ML3 wireless camera remote. This effect would be easy to replicate using a couple of house lamps in a dark room with a bit of ingenuity.
 Shot 1: Overview of the garage that was turned into a studio. Had to run 10 metre power cable from the house to run the lights.
 Shot 2: Set the light with the barn doors pointing at the back wall to control the amount of light that was falling on the wall and the light with the umbrella about 2 metres away from the back wall pointing across the shot to avoid shadows falling on the back wall and creating a heavy side lighting effect. Both lights were set to full power but the strobes were turned off.
 Shot 3: First test shot with camera set at f3.8 at 1/125 sec 800 ISO this was with the garage door open which let in more light than I wanted as well as the bluish colour cast at the bottom of the image. I also didn’t like the shadow in the upper right of the frame and so adjusted the barn doors to take this out.
 Shot 4: After closing the garage door and setting the camera focus to about 1.5 metres as well as adjusting the camera to f5.6 at 1/60th second I took the first shot with me in it. With self portraits its always difficult to pinpoint where you are supposed to stand, most of the time it’s just trial and error… I sometimes put a light stand in the shot to get the centre and to use as a reference for focus… This time I just guessed and was off centre which I liked anyway. After looking at this shot on a computer I liked the way the light on the wall darkened at the right and the light on me darkened on the left. I knew there would be enough information to make it easy to add more drama in Lightroom and Photoshop.
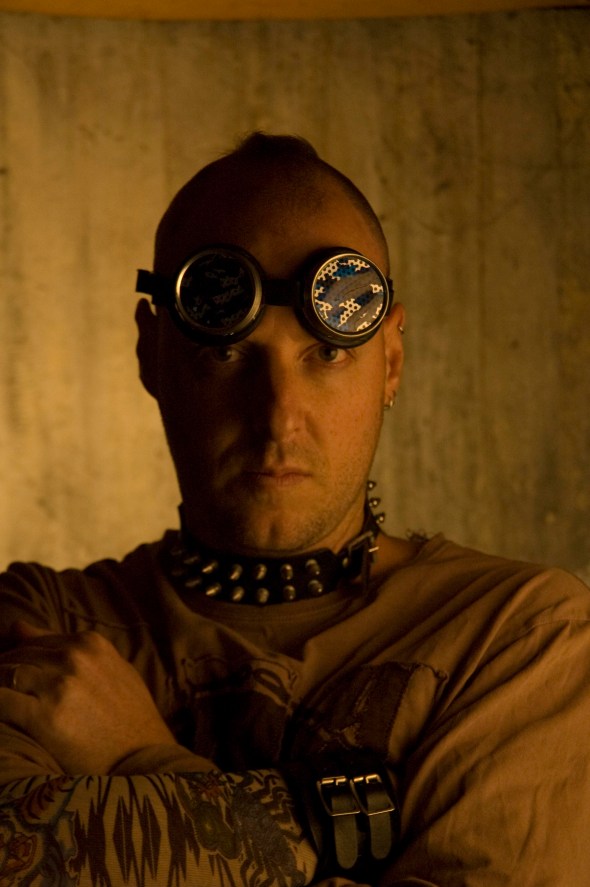 Shot 5: Props and Action! Yes I did give myself a Mohawk for the day just for the heck of it (its gone now) This is shot no. 23 Unprocessed straight off the camera in Raw. I have to say its the weirdest feeling using studio lights and setting off the camera with none of the usual loud popping noise that accompanies strobes going off.
 Shot 6: Final Rendition. Image has been recropped and Lighroom adjustments have been made to make it darker and more dramatic (Direct Positive, Vignette and Exposure decrease). I have a tendency to make stuff darker rather than lighter since that seems to be my base aesthetic.
If people keep showing a continued interest in this type of post then I will try and make it a more ongoing subject of this blog.
Let me know.
Si
Diving Man Multi Pop
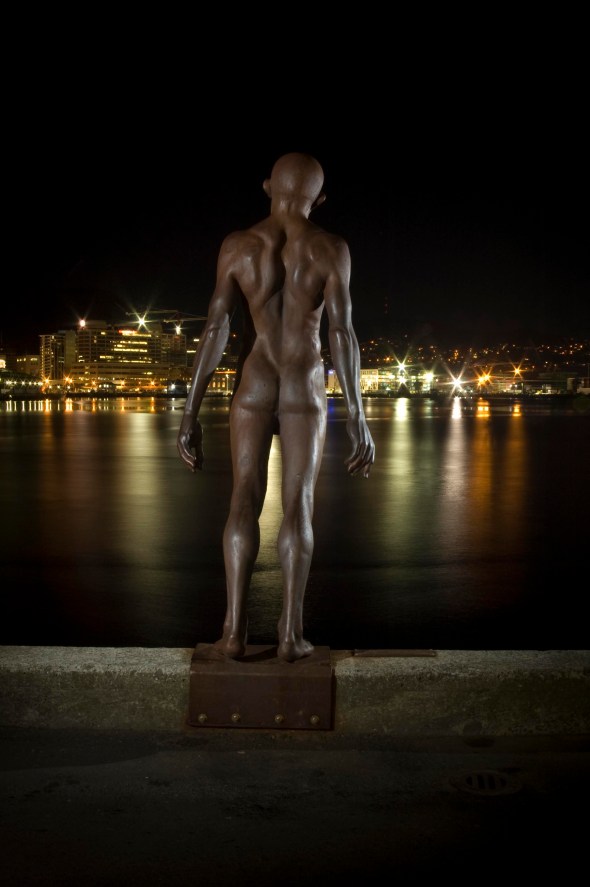
Diving Man Statue with three pops from from different angles with speedlite on the end of a monopod.
Ambient light is not my friend AKA More painting with Light
For those of you who have been following this blog, you will have noticed that I have been trying different things with Painting with Light. The idea of this shoot was to try using some of these techniques in an urban setting, A kinda Urban Grafitti with Light if you will.
This was the first shot at it and I ran into some big problems right from the start. This sculpture is directly behind “The Behive” (New Zealands parliament buildings) so I thought there might be some issues with security guards. In standard New Zealand fashion two burly security guards rocked up and asked what I was doing but in a kinda apolligetic “we are just doing our job” way and then wished me good luck and hoped I got some good pictures.
Because the sculpture was lit from the front I had to shoot it from the back looking towards the road which was brighter than I wanted so I had to use a ND8 filter and an ND4 Gradient to try and balance the light a bit which then made the torch light too dim.
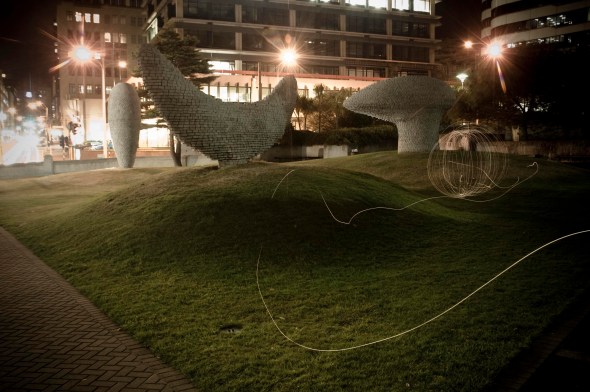 Nikon D70s 18-70mm Lens f8 at 58 seconds
With this shot I took off the ND8 filter but left the ND4 Gradient on and moved the location of the sphere into a slightly darker area of the image then reduced the shutter time from about 1 minute to about 45 seconds.
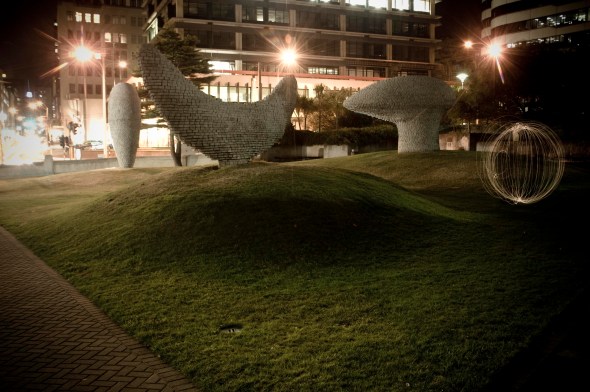 Nikon D70s 18-70mm Lens f8 at 45 Seconds
After noticing that there was a dark patch behind the “Banana” sculpture decided to try and see if the ball would look better closer to the camera. I think this image probably worked best of the 3 and also offers the best possibility to put someone inside the sphere since the flash will be out the side of the frame.
 Nikon D70s 18-70mm Lens f8 at 34 seconds
All in all there was pretty much too much ambient light and these have been rather harshly tweaked in Lightroom and then Photoshop to get them looking any good at all. I think next time I try this it will be somewhere where it is nice and dark… Possible a cemetery… Should be interesting.
Oh and I almost forgot… I shot a heap of video of all this happening… Will try and edit and put on somehow…
More More Painting with Light
This was an experiment I tried in my front yard last night.
Maglite without hood on a piece of string with a wireless speedlight off to the side on the left of the image.
I liked the way that the speedlite made it look like the light came from the sphere but I feel that there are too many strands to the sphere so might have to try using a solid bar instead of the string… Will post when I get a chance to try it out.
This is all experimentation for an upcoming project of Urban Light Graffiti which I hope will happen in the next few weeks.
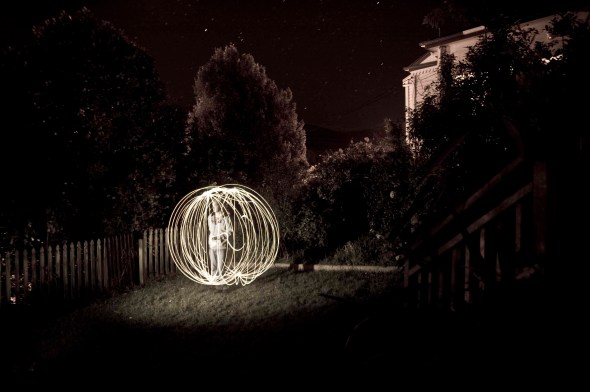 Nikon D70s, 18-70mm lens at 18mm. f3.5 at 57 seconds. Speedlite on 1/8 power
Same shot two different ways 2
 Shot 1 mostly for composition reasons
Courtneay Place, Wellington, New Zealand
Nikon D70s at ISO 200 f8 1/500 sec
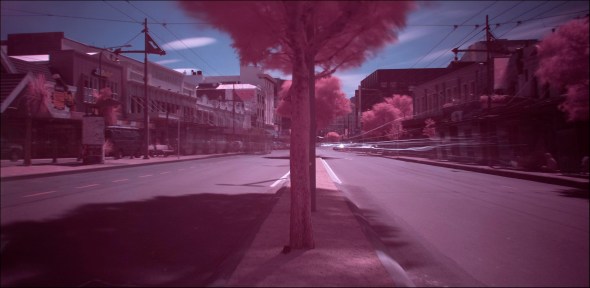 Shot 2 with a Cokin NDX filter (which reduces light by a bigillion stops)
Nikon D70s ISO 200 f8 364 sec
This one feels slightly post apocalyptic with the lack of people and the crazy magenta cast from the filter



Recent Comments